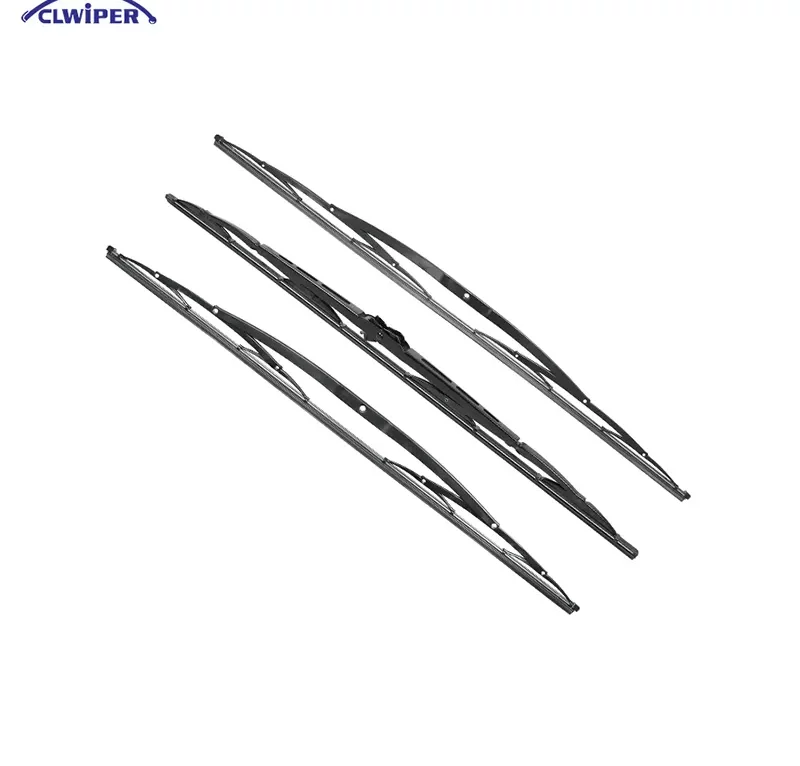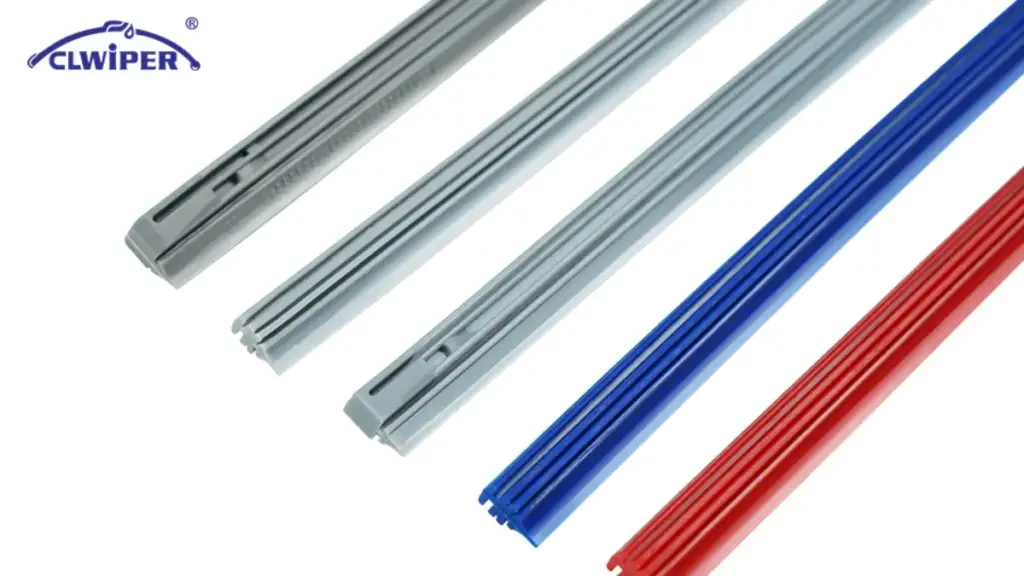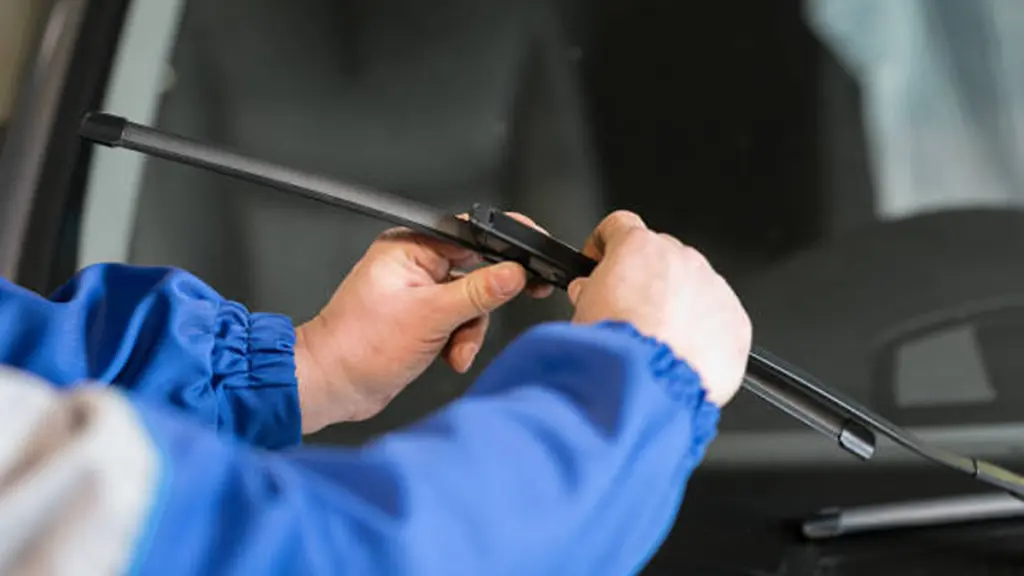
A wiper blade refill is the replaceable rubber or silicone strip that does the actual wiping. In refill-compatible blade designs, the frame, adapter, and structural hardware can remain in use while the worn wiping element is replaced. For fleet operators, distributors, and private-label brands, buying refills may reduce packaging and per-unit material use, although compatibility differences can add SKU complexity.
The problem: refills aren’t universally interchangeable. A strip that fits one beam blade design won’t seat correctly in another. Cross-section shape, channel geometry, and the rail groove all vary by manufacturer and product line, and even two products of the same nominal length may not share a compatible profile.
This guide covers how to measure an existing refill, identify its profile features, and communicate those specifications clearly to a manufacturer. It’s about getting the right part, not about evaluating suppliers or comparing materials.
Key Takeaways
- Refill compatibility depends on cross-section geometry, not just length — a correctly sized strip with the wrong profile won’t install or will fail quickly.
- Profile naming isn’t standardized across manufacturers; specify by measurement, not by name.
- Start with total length and a fully dimensioned cross-section; which extra dimensions matter depends on the design (groove width/depth, spacing, rail, end stops).
- Rails and retention are a compatibility layer beyond the rubber profile; confirm what is supplied and what is reused.
- Send the factory an approved sample or dimensioned drawing, plus rail details, the target frame/blade model, lengths, and quantities.
What Is a Wiper Blade Refill?
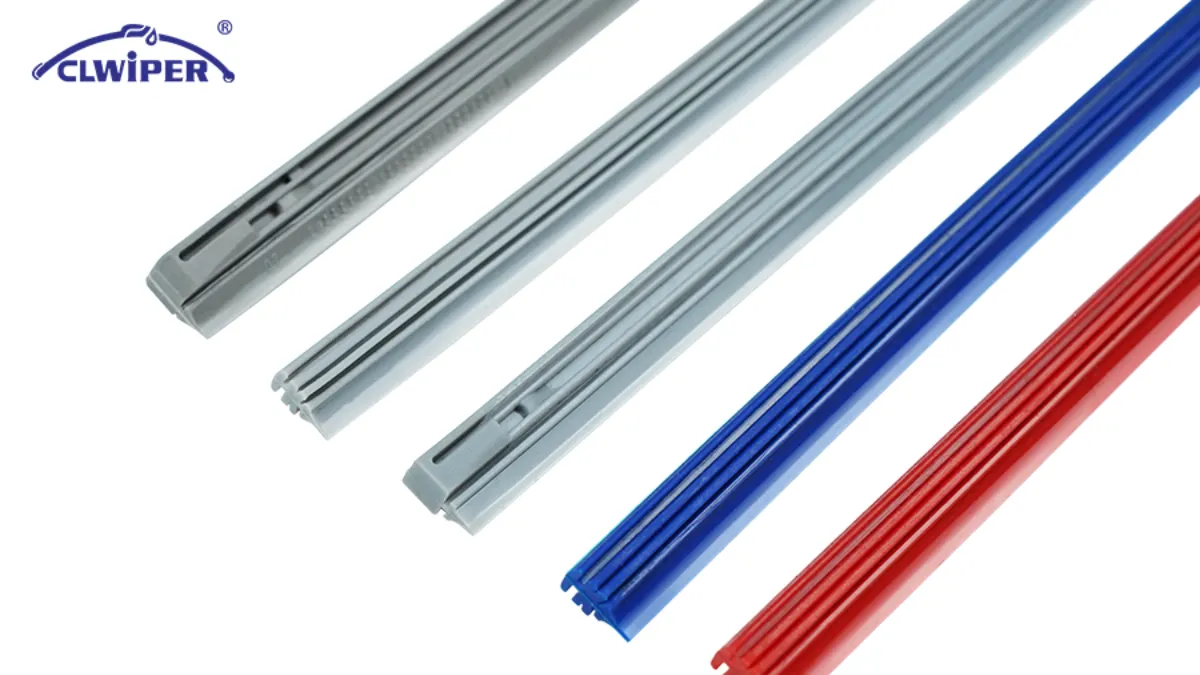
A refill (also called a rubber strip, wiper element, or blade insert) is the wiping component that slides into or clips onto an existing blade frame or beam structure. It’s the part that contacts the glass — one component in the broader windshield wiper system. When it wears, hardens, or tears, the user replaces only the refill, not the entire blade assembly.
Refills serve buyers in two main scenarios:
Replacement consumables — Fleet managers, taxi operators, and commercial-vehicle users who replace wiping elements on a schedule but keep the same frames for extended periods.
Private-label and aftermarket programs — Brands that sell complete blades at retail and also offer refill strips for repeat customers who reuse the frame hardware, reducing packaging and material waste.
CLWIPER’s wiper blade refills are available in multiple profiles and lengths for both scenarios.
A refill is distinct from a complete blade assembly, which may include a frame or beam structure, rails or flexors, a connector or adapter, and other end components depending on the design. It is also distinct from the arm connector that attaches the blade to the wiper arm; that interface is covered in our wiper blade connections guide.
Why Aren’t Wiper Blade Refills Universally Interchangeable?
Wiper blade designs use different frame channels, rail arrangements, and refill cross-sections. The refill must match the specific shape of the design it belongs to, and a mismatch causes one of three problems:
Too loose — The refill may shift, loosen, or produce uneven wiping during operation.
Too tight — The refill can’t be inserted without force. Forced installation deforms the wiping lip, causing immediate streaking and accelerated edge wear.
Wrong geometry — The refill’s groove doesn’t engage the frame’s rail or clip. It may appear to fit initially but releases under vibration or thermal cycling.
Note on “Universal Fit”: In product marketing, “universal” or “wide-fit” generally means that a refill supports multiple applications. It does not guarantee compatibility with every blade channel, rail arrangement, or profile. Always confirm the relevant dimensions and retention features before ordering.
Which Dimensions Determine Refill Compatibility?
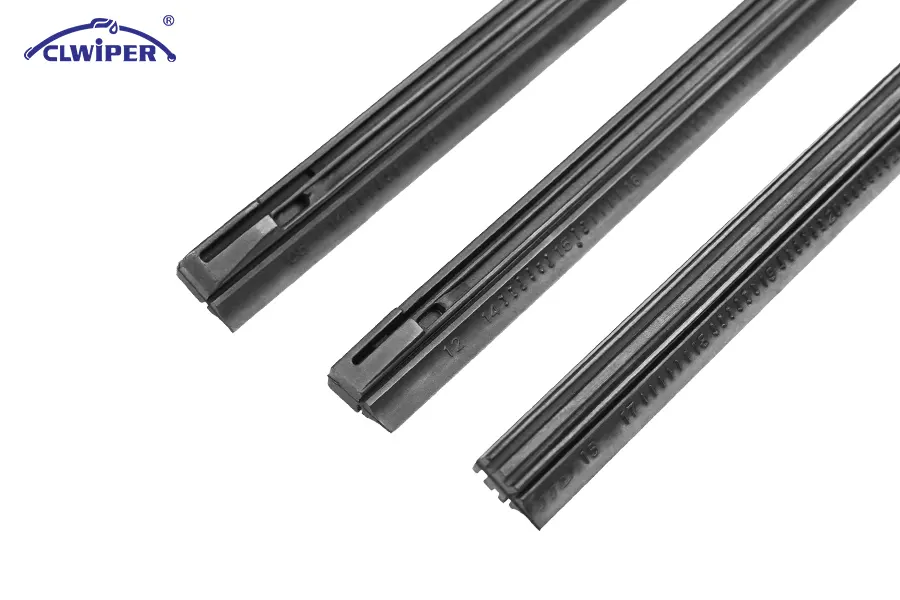
When confirming wiper blade refill sizes, check both the required length and the fully dimensioned cross-section. Depending on the design, the drawing may also need to show the body width, overall profile height, neck or stem width, groove width and depth, spacing between parallel grooves, rail dimensions, and the location of any end stops or retention notches. The dimensions below are the ones that most often decide a fit:
1. Total length
The end-to-end measurement of the strip, matched to the frame’s designed blade length. State whether it includes or excludes end caps or molded extensions. For length selection by vehicle, see what size wiper blades do I need.
2. Body width
The widest point of the main strip body (excluding the thin wiping lip). This determines whether the refill enters the frame channel: too wide won’t insert, too narrow leaves lateral play.
3. Wiping lip width
The thin, flexible edge that contacts the glass. This is closer to a performance parameter than a mounting-fit dimension, but a lip too wide for the frame’s design can fold over during installation.
4. Overall profile height
Measure the complete cross-section from the backing surface to the wiping edge. Overall height should be evaluated together with the neck, head, and groove positions, because only part of the profile is retained by the blade structure — the wiping lip must remain correctly exposed and free to flex.
5. Groove or channel geometry
If the refill has a groove, slot, or stem on its back face where it engages the frame rail or clip, this geometry must match. This is the dimension most often missed by buyers who specify only length and width.
Which Profile Features Should Buyers Identify?
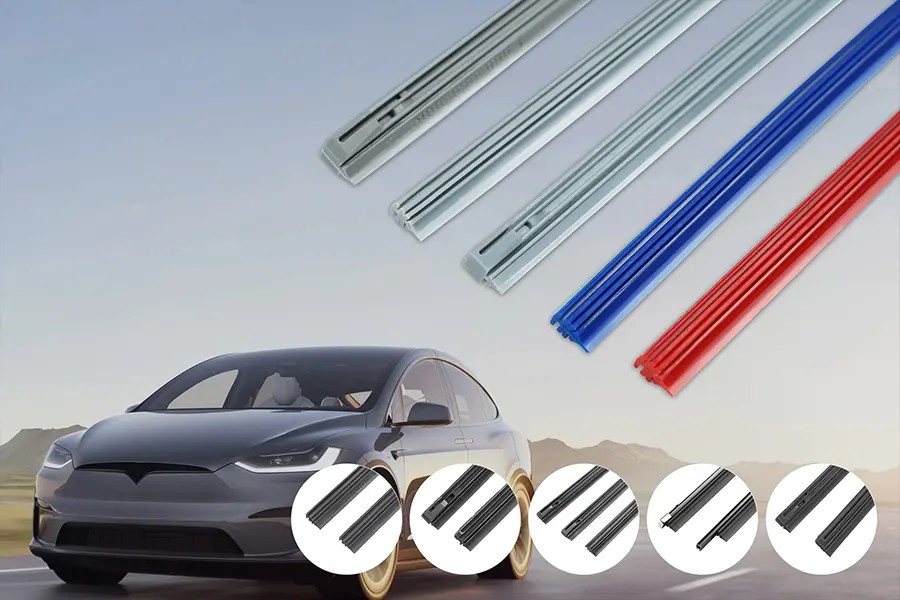
Rather than classifying refills into a fixed number of “types” (which vary by manufacturer and region), identify which structural features your target refill exhibits:
Body shape:
- Flat or rectangular cross-section (no groove) — commonly used where the strip is held by clips or a tension wire
- Shaped cross-section with a stem or head — used in blades with enclosed channels that retain the strip
Rail engagement:
- Groove(s) on the back face for a separate metal rail to slide into
- Integrated rail channel (the refill is molded around a fixed rail position)
- No groove, where retention is provided by the surrounding frame or clip structure
End treatment:
- Straight-cut ends (for frames with separate end caps)
- Notched or shaped ends (for snap-in designs)
- Continuous roll (for on-demand cutting by the buyer)
Retention method:
- Friction or channel fit, where retention depends on matching the channel geometry and end restraints
- Clip or tab retention, where frame tabs engage a groove in the refill
- Rail-lock, where a metal spring rail both tensions the blade and retains the refill
These features combine differently by design, and shape alone doesn’t confirm full compatibility. The reliable way to identify what you need is to measure the existing refill or the empty frame channel and record the retention features.
How Do Rails and Retention Affect Compatibility?
A refill’s relationship to the supporting metal — rails or flexors — is a compatibility layer separate from the rubber profile itself. Rather than assuming “beam means integrated rail” and “framed means no rail,” classify by what is actually supplied:
Rubber only:
The replacement package contains only the wiping element, and the original backing strips or flexors are reused. Confirm the number, width, thickness, groove position, and end-retention features of the existing rails.
Rubber with matched rails:
The refill is supplied with compatible metal backing strips. Confirm whether the rails are straight or pre-curved and whether the assembly includes end stops, notches, or locking features.
Preassembled insert module:
In some proprietary blade designs, the wiping element and supporting components are supplied as a matched module. Compatibility must be confirmed against the exact blade model rather than the rubber profile alone.
Do not assume that conventional blades use no rails or that every beam blade uses the same integrated-rail structure. A refill groove sized for one rail won’t seat on another, so confirm what remains in the blade and what is included in the quoted replacement part.
How Should an Existing Refill Be Measured?
When you need to order a replacement refill and have a current sample to work from, follow this procedure.
Tools required
- Digital caliper (use a suitable resolution and apply light, consistent pressure to avoid compressing the elastomer)
- Steel ruler or tape (for length)
- For complex profiles: a clear end-on photograph, profile gauge, optical measurement, or a factory-made cross-section drawing
Measurement sequence
Step 1 — Length
Lay the refill flat and uncurved. Measure end-to-end, noting whether the figure includes or excludes any end caps or molded extensions.
Step 2 — Body width
Measure across the widest point of the main body (not the wiping lip) at three positions along the length. If width varies, note the range.
Step 3 — Lip width
Measure the thin contact edge separately and note whether it is uniform along the length.
Step 4 — Overall height
Measure from the backing surface to the wiping edge. Record how much of the profile is retained by the structure versus left exposed.
Step 5 — Groove/channel profile
If the refill has grooves, stems, or shaped features on its back face, measure groove width and depth, photograph the end-on cross-section against a white background with a ruler visible, and — for complex shapes — capture the geometry with a profile gauge or optical measurement.
Step 6 — Rail and retention check
If a metal rail is attached or was attached, note whether it is integrated (bonded or molded in) or separate (slides in); measure its width and thickness; record the number of rails (single or dual), whether they are straight or pre-curved, and the position of any end stops or notches. Confirm whether the rail is supplied with the refill or reused.
Step 7 — Compound and hardness reference
Do not use the hardness of a heavily worn or aged refill as the target specification. If hardness must be controlled, agree with the manufacturer on the test method, specimen condition, measurement location, and acceptable range — a reading taken directly from a thin finished profile may not be comparable with a standard test plaque. ASTM D2240 is the common Shore hardness method to reference.
What Should Buyers Send to the Manufacturer?
A refill inquiry with insufficient information produces a sample that looks close but doesn’t fit. Send the factory what it needs to match the part, and structure the inquiry to prevent back-and-forth delays.
A dimensioned drawing may be sufficient when matching an existing standard profile. For proprietary or unfamiliar profiles, an unused approved sample is preferable. If only a worn sample is available, identify the visible wear, deformation, and aging so the factory does not reproduce those conditions.
Physical materials to include
| Item | Purpose |
|---|---|
| Approved sample (unused where possible) | Lets the factory measure the target part directly and compare it with available tooling, profile drawings, or a reference blade where available. |
| Cross-section photo (end-on, with a metric ruler in the same plane as the sample) | Shows the profile shape for initial quoting without the physical part. |
| Dimensioned sketch or drawing | Provides the required measurements, including relevant tolerances. |
| Photo of the refill installed in the frame | Shows how the refill engages with the channel, rail, and end clips. |
| Frame/blade model reference | Identifies the blade product the refill belongs to, including the brand, model, or OEM part number if known. |
Inquiry fields to include
- Quantity per length — Pieces, broken down by size (for example 14″, 16″, 18″, 20″, 22″, 24″, 26″)
- Profile reference — Attached sample, drawing, or cross-section photo
- Material, surface treatment, and hardness — Specify the required rubber or silicone compound, coating, and performance target based on the supplier’s confirmed material options, or request a recommendation for the target market; if hardness must be controlled, state the agreed Shore A test method and range rather than “match the sample” on a worn part
- Rail specification — Rubber only / rubber with matched rails / preassembled module; if rails are involved, provide rail dimensions or send a sample rail, and note straight vs pre-curved and end stops
- End cut style — Straight, angled, notched, or as-sample
- Packaging format — Bulk bag, individual sleeve, color box, or roll core (for continuous-length supply)
- Target market — Expected vehicle applications, labeling language, packaging, and documentation needs
What NOT to rely on
- A product name or part number alone may help identify the original application, but it does not confirm the cross-section dimensions or cross-brand compatibility without a reliable technical cross-reference
- A length-only specification (“22-inch refill”) — the same nominal length may come in several incompatible profiles
- A photo without a scale reference — it makes dimension estimation unreliable
For guidance on covering your market’s vehicle parc, see wiper blade SKU coverage planning.
Frequently Asked Questions
Can I use a refill from one brand in another brand’s frame?
Sometimes. If the cross-section dimensions and groove geometry happen to match, a refill will fit regardless of brand markings — but that is coincidental, not guaranteed. Compare the relevant dimensions, groove geometry, rail arrangement, and retention features, then confirm fit with a representative sample. Brand names and part numbers can support a catalog cross-reference, but they should not be treated as proof of compatibility without confirming the profile, rail arrangement, and retention features.
How do I identify what profile my current refill uses?
Look at the end-on cross-section. A simple rectangle with no grooves may be a flat profile for open-channel frames; a narrow stem with a wider head may be a T-slot type for enclosed beam channels; one or two parallel grooves on the back face may indicate rail engagement. Shape alone doesn’t confirm full compatibility — photograph it against a ruler and compare with the manufacturer’s profile options.
What’s the difference between a refill and “wiper blade rubber”?
The terms are often used for the same replaceable wiping element, but usage varies by supplier. Confirm whether the quote covers the rubber element alone, a refill with support rails, or a complete blade assembly.
Why does my new refill streak even though it fits the frame?
Fitting the frame and wiping cleanly are different problems. Streaking can come from contamination on the glass or the strip, arm pressure and blade angle, spring-steel curvature, the surface coating, the machining quality of the wiping edge, a lip width that doesn’t suit the frame’s pressure angle, a hardness mismatch, or normal aging. Check the actual cause rather than assuming it is width and hardness alone.
Do I need to send a physical sample, or is a drawing enough?
A dimensioned drawing may be sufficient when matching an existing standard profile. For proprietary or unfamiliar profiles, an unused approved sample is preferable, since it can be measured directly and test-fitted. If only a worn sample exists, flag the wear so the factory matches the original design rather than reproducing the wear.
Refill compatibility should be confirmed using a dimensioned cross-section, rail and retention details, and a representative fit test—not by length or profile name alone. Even a suitable compound may perform poorly if the cross-section does not match the blade structure, while the correct profile cannot compensate for unsuitable material. Once compatibility is confirmed, test the completed blade against the agreed wiping-performance requirements.
If you are sourcing replacement refills for an existing blade program, send CLWIPER an approved sample or dimensioned drawing together with the rail specifications, required lengths, quantities, and packaging requirements. Contact our team to review the profile and prepare the appropriate sampling and quotation details.